1. Paint chalkware with a coat of white gesso as a base coat. It seals the
chalkware and fills in the small bubble holes that often occur in the casting process.
The
gesso will be thick. DO NOT DILUTE THE GESSO, or it will peel off in strips
after you paint the chalkware.
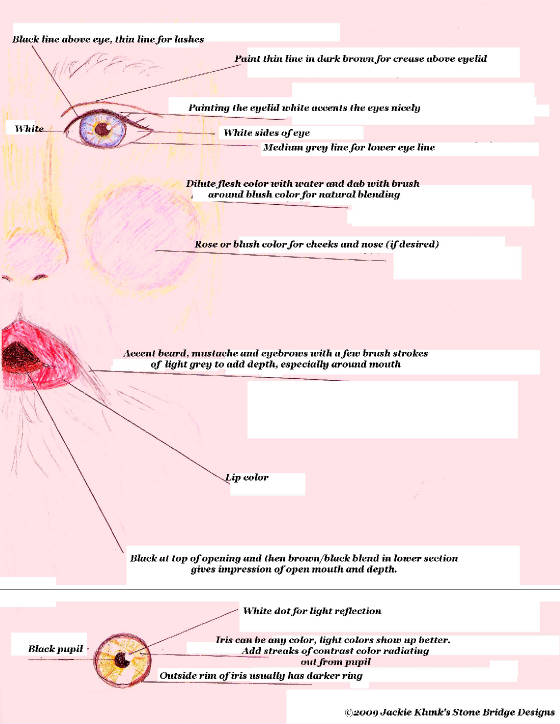
Buy several thicknesses of craft paint brushes. I suggest you buy artist brushes, as
they do a much better job
on intricate and fine line details. Make sure you buy at least
one very thin line brush for eye lining and lashes,
and a dot brush for doing the iris of the
eyes. The detail that you are able to do on the eyes will depend on
the size of the eyes.
It is much easier to add more detail to larger eyes than small ones.
2. Use acrylic
craft paints, which are available in 2 oz. squeeze bottles at any craft store
or Wal-Mart. Start by painting the
flesh color on the faces, hands, etc. Many times
2 or 3 coats of each color are necessary for proper coverage.
Then paint the beard,
mustache, hair, eyes and eyebrows in white. You can add a few light grey brush strokes to
the mustache, beard and eyebrows to add depth--especially around the mouth area. Paint
the cheeks in a rose
color. After this dries, mix a little of the flesh color with water, and
dab this with a brush around the edges
of the rose color you used on the cheeks. This
blends the blush on the cheeks with the skin color so that it looks
more natural. (If you
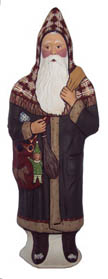
are interested in having a more detailed santa, instead of what is often described as the
"primitive" look, you can outline areas such as where the sleeves meet the coat, or the
edge of the
hat, between the fingers, etc. Check out the chalkware photos to see what I
mean. This lining is done last,
after everything else is painted, and is done with a fine
lining brush in black or very dark brown.)
3. After
you have the face and hair done, paint the clothing and accessories in whatever
color you like. Don't be afraid
to use something other than the standard red and green.
The nice thing about acrylic paints is that they can be
mixed to make just about any color
you wish. Paint the fur on the hat, coat and sleeves in a white, cream or brown
shade, and
use the lining brush to paint small lines in varying directions to show depth. You can add
all
kinds of accent designs to your chalkware, such as snowflakes, holly, or others. A
magazine on folk art painting
or a book on the topic can be very helpful to give you ideas.
4. Allow chalkware to dry for a day. Once your
santa is painted to your liking, you can use
a water-based antiquing finish to make the santa look old and to mute the
paint colors a
little bit. I use "Folk Art" antiquing water-based acrylic in deep brown.
Make sure it is a
water-based one. I DO NOT use it as a rub-on and rub-off finish as it is sometimes used.
I use it as a wash by diluting it with water at about 1/6 finish and 5/6 water, and then
painting it over the
entire painted chalkware piece. It is much easier to use this on
chalkware as a wash, instead of having to rub
off a very thick coat of this antiquing finish,
because it is very difficult to do so evenly. This step really makes
the chalkware look like an
aged heirloom. I never paint a piece without this step. Give it 24 hours to dry,
and then
finish with a water-based, paint-on varnish in a satin finish.
©2009 Jackie Klunk's Stone Bridge Designs